Ok , so you've seen all the fabulous pictures of tiny creatures, beautiful shimmering dragonfly wings, multifaceted compound eyes of insects, jewelled cases of rainbow colour beetles.
You've tried it yourself, full of excitement and enthusiasm, only to be disappointed by the lacklustre results.
The main focal point isn't in focus.
The background is too much in focus.
The composition lacks focus.
There's a bit of a theme here.
The whole picture seems dull and flat and you are wondering if this is one step to far for your abilities.
These tips can turn your photography right around giving you mastery over the minute.
Small minute not time minute. But you are still going to need time on your side. And patience. So, give yourself a few hours, get all the gear you need to hand and get out in your garden on a bright but lightly overcast day.
1. Let there be Light.
It's amazing how our eyes adjust to varying light levels and what may seem to be good light when we are standing up looking around, suddenly becomes much less at ground level specially as we reduce the available light simply by being there. I personally find flash too harsh so for extra illumination I have a small LED torch with wax paper taped over the top to act as a diffuser. You may not always need it but it helps keep the shutter speed up and can help with composition. A piece of white card can be an excellent reflector and also act as a wind break.

2. Use a wide aperture.
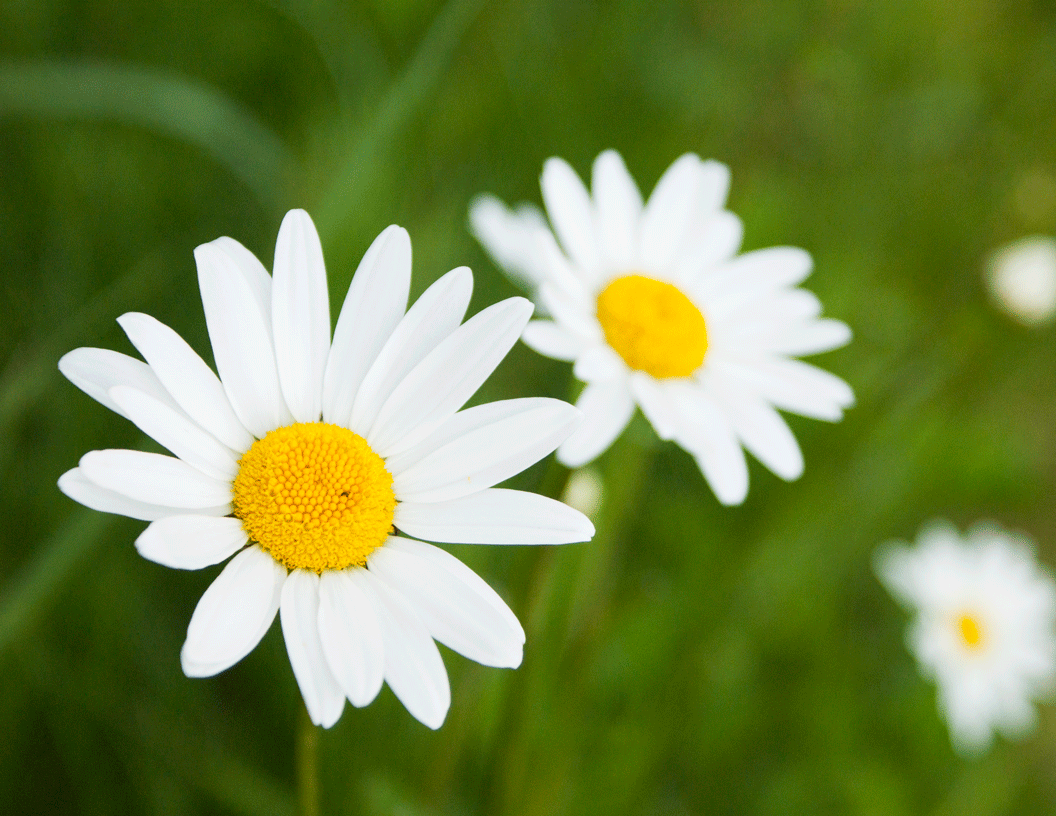
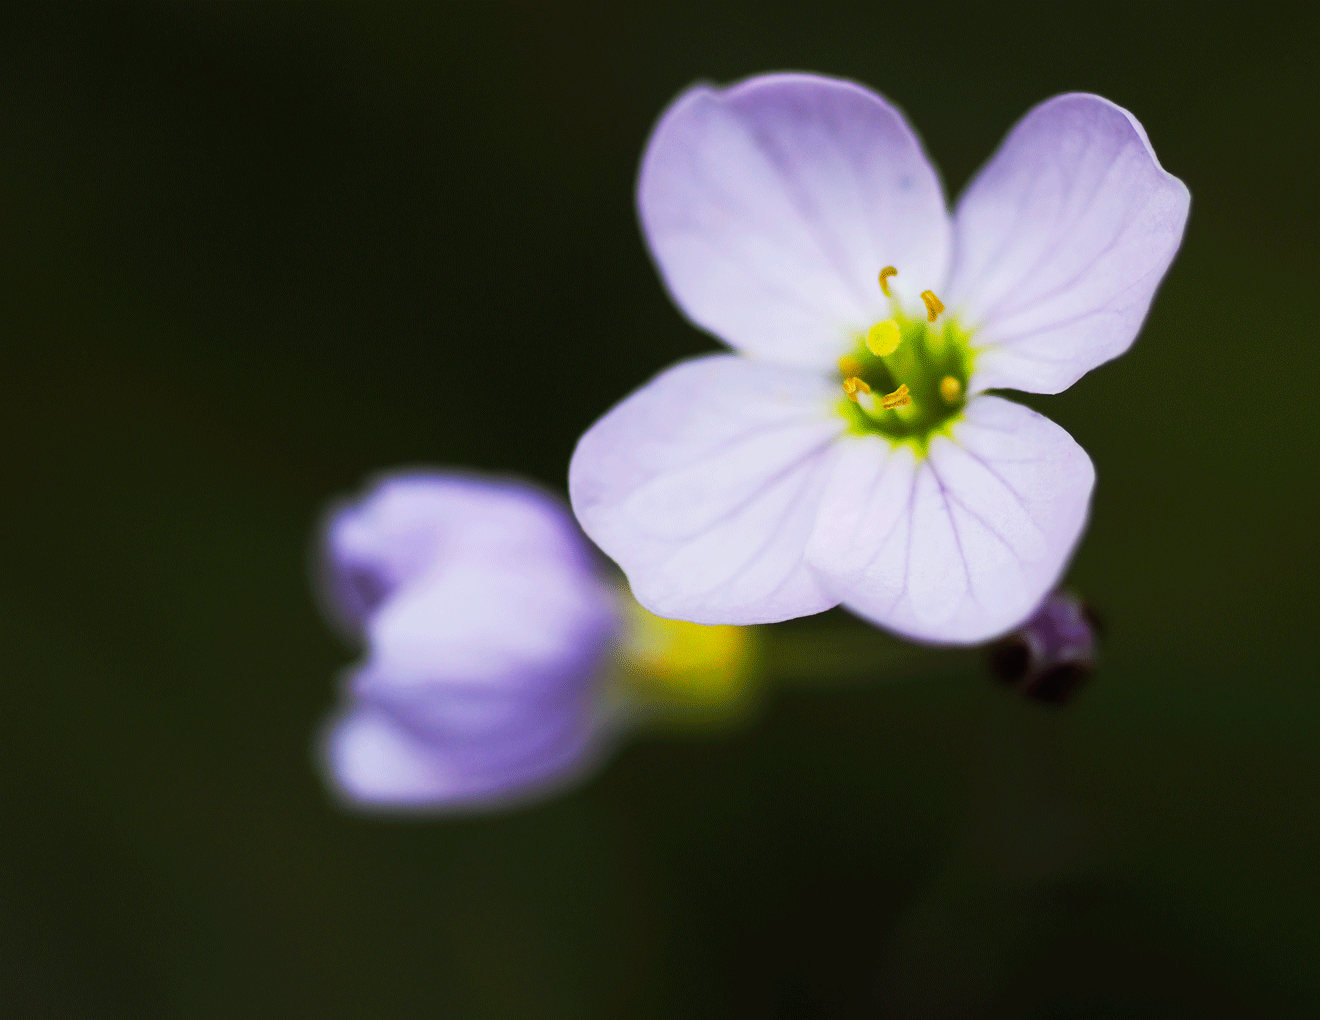
A narrow aperture gives a big depth of field meaning lots of things are in focus. This can lead to a messy shot as every blade of grass, worm cast and slowly composting vegetation will be clearly visible. Using a wide aperture means the surroundings are thrown out of focus and the distractions disappear into a soft field of colour. If you are lucky you will have some beautiful bokeh too. It also has the advantage that your shutter speed will be higher reducing the risk of camera shake.

3. Use a Prime Macro lens.
For true Macro results, where the size of the object is the same as the size of the image on the sensor, you will need a macro lens. One good example is the Sigma 70mm DG Macro lens. On a standard SLR this has a focal length equivalent of 105mm so it is also great for portrait photography. A prime lens will be faster than your kit lens and with a designated Macro lens you will be able to get closer to your subject.

4. Get closer with Extension Rings
All is not lost if you are not in the market for a macro lens however. Extension tubes can bring your subject effectively closer enabling the use of your kit lens for very close-up shots. You won't be able to have as small an aperture with this set up so remember this when reviewing your shots and don't judge yourself harshly.
5. Use support.
You will be working at the edge of your camera and lens' capabilities so get some support. A bean bag is great for this as it allows you some flexibility over where you point your camera. Don't be afraid to get down and get dirty with this technique. Low angles produce great results so you may find yourself lying flat on the floor quite often.

6. Learn Patience
Unless you are very lucky, you will be taking lots of shots. I have thousands of those one's where the focus went AWOL, the insect disappeared leaving legs dangling at the edge of the picture or the light vanished just as the button was pressed. The tiny flower whose petals moved on the breeze. Oh but the joy when it all comes together!
<script async src="//pagead2.googlesyndication.com/pagead/js/adsbygoogle.js"></script> <ins class="adsbygoogle" style="display:block; text-align:center;" data-ad-layout="in-article" data-ad-format="fluid" data-ad-client="ca-pub-8527198939567206" data-ad-slot="6866225717"></ins> <script> (adsbygoogle = window.adsbygoogle || []).push({}); </script>
7. Provide the right habitat
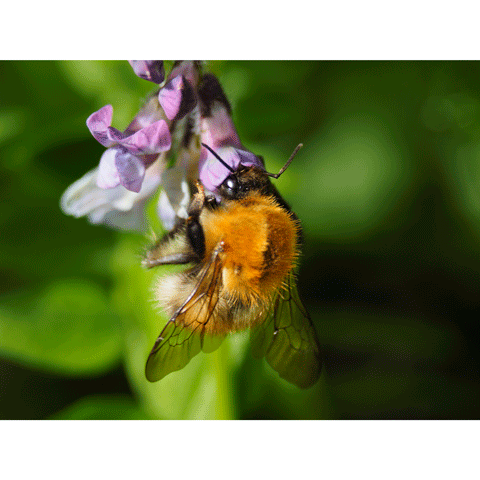
Help attract the little creatures to the spot you want them to visit. Open flowers for bees so they can easily get at the nectar. Sweet delicacies for the butterflies. A safe hiding place for keeping out of the way of predators. A source of water. Taking care of all the needs of your flora and fauna will give you endless subjects throughout all but the worst of winter.

8. Keep the ISO low.
Set your ISO to 200 when possible. This means the darker areas of your shot won't be full of the bright pixels created by noise. It gives you the best quality photograph so you are more likely to be able to view it on a grand scale. This isn't always possible if the light is too low as the shutter speed will rise to compensate, leading to motion blur or camera shake.
9. Compose your shot.
In the heat of the moment it is all too easy to forget about all the niceties of composition such as rule of thirds and active space. Some shots you will be able to improve with cropping in photoshop, but for getting the most out of your picture be aware of the composition at the shooting stage.

10. Switch to manual focus.
Be brave, switch to manual focus. Set the focus up on the spot where you want your subject to be and wait till it gets there. Of course you need to know where it might get to so observing your subjects habits for a while will help. It also helps to know a little field craft. For instance, bees and butterflies take a while to warm up in the morning so they are easier to capture early in the day. Beetles have a tendency to climb to the top of a blade of grass or flower spike as they wander around giving you the chance to compose your shot.
Practice these techniques and you will soon be taking fantastic macro shots to be proud of.
No more out of focus subjects, no more distracting backgrounds and heaps of praise from your family, friends and colleagues.
Why not share your best results in the comments below along with your own tips for major macro success.