Combine your Photos to Create your own Art
- Janice Gill
- Feb 6, 2018
- 3 min read
Updated: Jan 30, 2023

Do you take some images that look great but are missing that certain something?
Do you have a vision for an image but the components don't quite come together at the same time?
Do you have 2 or 3 images that would look amazing together but cutting and pasting is not your forte?
Try this super simple solution in your photo editing programme.
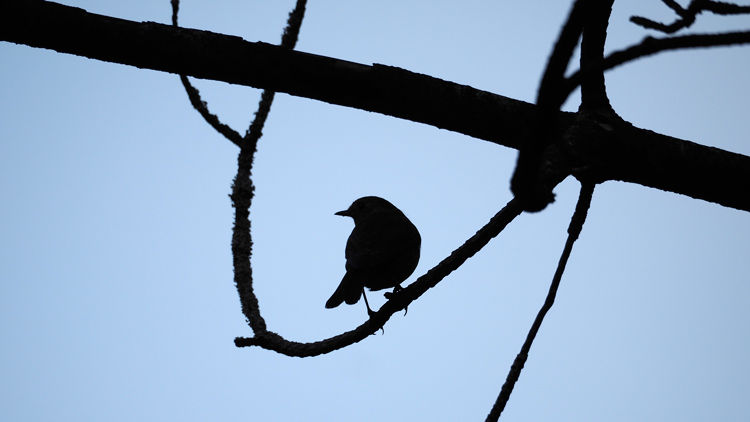
This project started with a silhouette of a bird on a branch that reminded me of tackle and lines on a boat. The sky behind was monotone and lacked interest so I looked through my back catalogue and found the perfect companion.
This is the original silhouette.
And this is the original background, a shot across Cardigan Bay looking towards Barmouth.

The first stage in the process of combining these images is to open them in your editor.

Go to file then open and browse for each of the images. The file names will show underneath the main menu at the top. The last file name will be highlighted and show on the screen. If you click the other name it will be highlighted instead and the image shown will be changed.
For this silhouette I am changing the picture to black and white. This helps when combining the images as my landscape won't darken.
In this case I click on the black and white adjustment button in my right hand menu. You can also click on image in the top tab menu then go to Adjustments followed by black and white.
This looks quite grey rather than white in the sky, so I click on the levels button. In the dialogue box, under the histogram, move the little white slider arrow to the left until the background is white.

Once you are happy, flatten the image by going to the image tab again and clicking flatten. This joins all the layers together for the next stages.
We now need to move the silhouette over the top of the landscape. To do this, press Ctrl and A together to select the whole image, then press Ctrl and C together. This copies the image ready for you to paste wherever you like. You won't see it anywhere until it is pasted to your other image.
Now click on the landscape image name underneath the tab menu. This shows you that file. To add the silhouette to the landscape press Ctrl V.
To be able to see both images go to your layers panel on the right. Change the blending mode from normal to multiply in the drop down box.

You will now be able to see both your foreground and background images mixed together.
To create the composition you want, we now need to transform and move the silhouette. If you are happy with the image as it is, you can skip this step.
Click on the move tool in the left hand tool menu. You will see little squares at the corners of the image. Click on these with your mouse and drag to stretch out the image or shrink it in size. Double click to set the transform you have just done. You can also move the image by clicking anywhere inside the picture space and dragging with the mouse.

The final step is to click on the crop tool in the left tool bar then double click in the middle of the image.
This crops the top layer to the size of the bottom layer where it overlaps.
All that remains is to save your work.
I hope you enjoyed this quick tutorial and that it gives you the confidence to try some more ambitious projects.
If you would like to see step by step instructions for any other projects, let me know in the comments and I'll try my best to get that sorted for you.
Happy Creating,
Janice


Comments